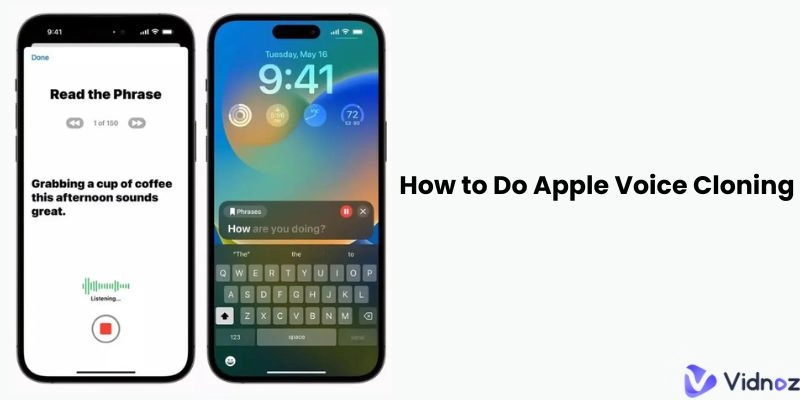
The technology behind Apple voice cloning is similar to those used in various other apps such as voice AI. With the introduction of AI-powered voice cloning, everyone from streamers to casual gamers has been using the new-found tech to have some extra fun. This article focuses on iOS 17 voice cloning and the many possibilities that come with its implementation!
- On This Page
-
Things You Should Know about Apple Voice Cloning
-
How to Do Apple Voice Cloning: Step-by-Step
-
Best Alternative to Apple Voice Cloning - Vidnoz Voice Changer
How to Do AI Voice Cloning in Minutes - 100% Free
Things You Should Know about Apple Voice Cloning
Even though we believe that this amazing feature should be available for everyone, Apple has limited the feature to those running on iOS 17 and above. Therefore, if your device supports this version of iOS, please upgrade to use Apple voice cloning. Once upgraded, you can get a fully functional clone of your voice!
The voice that’s created using Apple voice cloning is limited to system use! This means that you cannot extract the voice clone nor use it within third-party software. However, this may change in the future as Apple implements new updates and introduces new regulations.
iOS 17 voice cloning does manage to replicate accents to a considerable degree, but those who have thick accents might have trouble. When reading out phrases, there is a chance that the Apple voice recognition will fail to identify the phrases spoken out due to thick accents. Therefore, please improvise and attempt to reduce the variations within your speech as it will greatly alleviate any complications.
Currently, the voice is targetted and programmed for English users, but the voice that’s created can be used for other languages that’s supported by Siri. However, there’s always a chance that the clone doesn’t function for other languages as smoothly as one would expect. Read on to learn how to clone a voice.
Clone Anyone’s Voice with AI - Free
Make realistic voices of famous people and characters.
Clone anyone's voice to create personalized voiceovers.
Support 2000+ languages and accents.
Change Voice Now
How to Do Apple Voice Cloning: Step-by-Step
Step 1: Settings and Accessibility
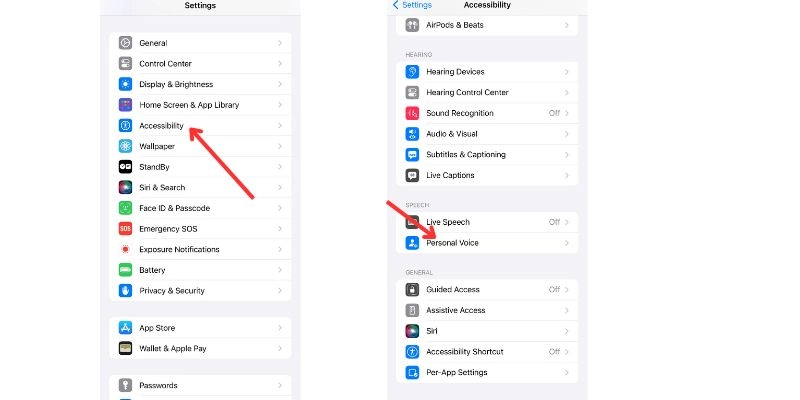
Please make sure that your device is running on iOS 17 before you start the iOS 17 voice cloning procedure. Click on the settings app on your home screen and navigate to the accessibility tab on the screen. You can also search for the tab on the search bar at the top of the screen.
Step 2: Create a personal voice
Once you have accessed the accessibility tab, locate the option named, “Personal Voice”. This option will only be visible if you are on iOS 17+. If this option is not visible, try resetting your phone as this will reapply the latest iOS patches.
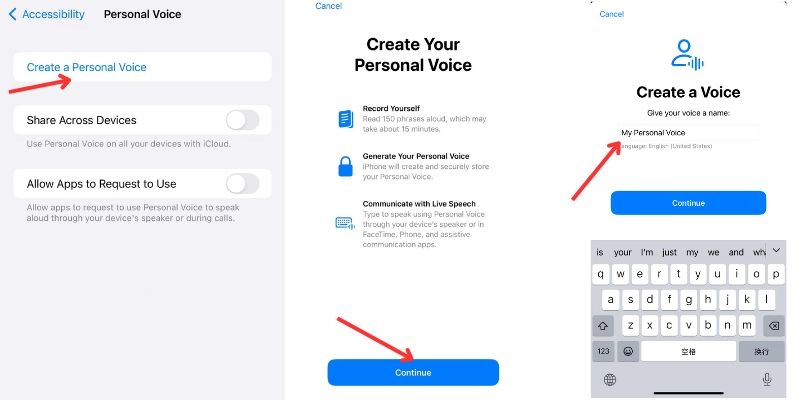
Once Personal Voice has been selected, click on the “Create a personal voice” option at the top of the screen. This step marks the start of the iOS voice cloning process as you will now enter the tool. Click on the blue continue button twice, and then proceed to give the voice clone a name.
Step 3: Check sound quality- read the phrase
Once you have provided a name for your voice clone, the next step is to provide the input for the Apple voice cloning tool to process. For this step, it’s optimal to have zero background noise, as it will provide the best recording for your device to process. However, some noise is eminent, but try to quieten your background as much as possible. A quiet room, with minimal echo is perfect for this step!
Your device will now provide you with phrases to read from. The phrases will be in English and you are required to hit the record button before reading each phrase. As of this writing, Apple voice cloning provides the user with 150 phrases to read from. The phrases will differ in length, but on average it will take 30 minutes to complete the narration.
When reading the phrases, speak in your natural voice as it will provide the most accurate results when cloned.
Step 4: Prepare your voice clone
The final step is to prepare your voice clone. Please note that Apple voice cloning is still in its early stages, therefore bugs and errors are bound to happen! Patience is key.
To start processing your recordings click on the “Continue” button. Next, you will be prompted to lock your phone after connecting to a charger. Once your voice has been processed and a clone has been generated, you will be notified.The average time to process your recordings ranges from a few hours to a couple of days. The duration depends on the clarity of your voice, accents, and a few more unreleased variables in action.
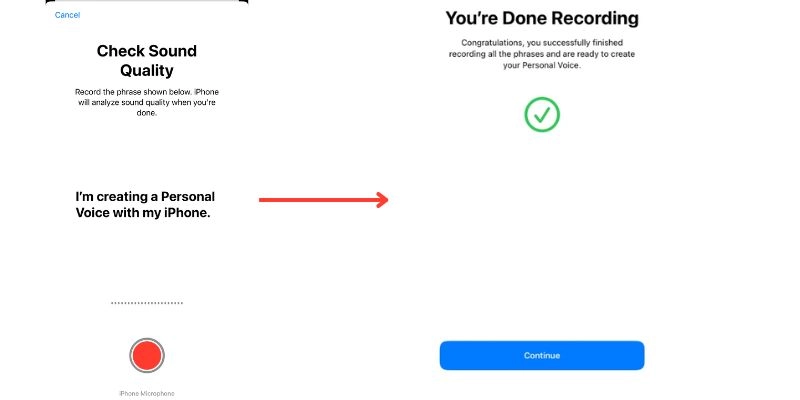
To use your voice clone, click on “Live Speech” in the accessibility tab and select the voice clone you have just created! You can also triple tap the side button to use live speech quickly.
Best Alternative to Apple Voice Cloning - Vidnoz Voice Changer
Are you tired of waiting for days on end as Apple processes your voice? Or does your device not support iOS 17? Maybe you don’t own an Apple device! We have identified various limitations and restrictions when using the iOS voice cloning tool and to tackle these issues we found a superior alternative known as Vidnoz AI Voice Changer.
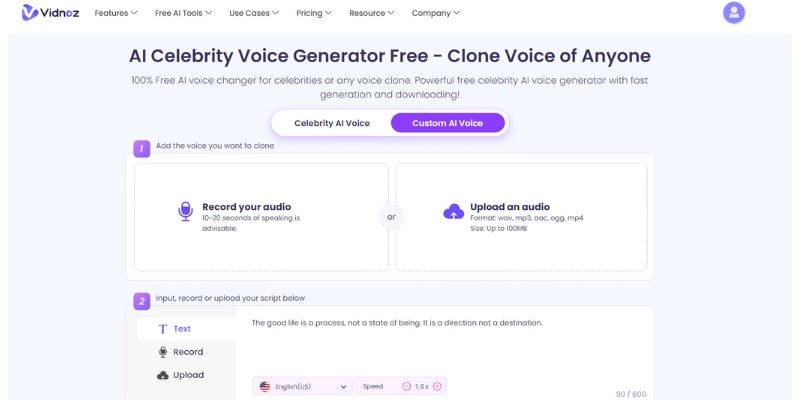
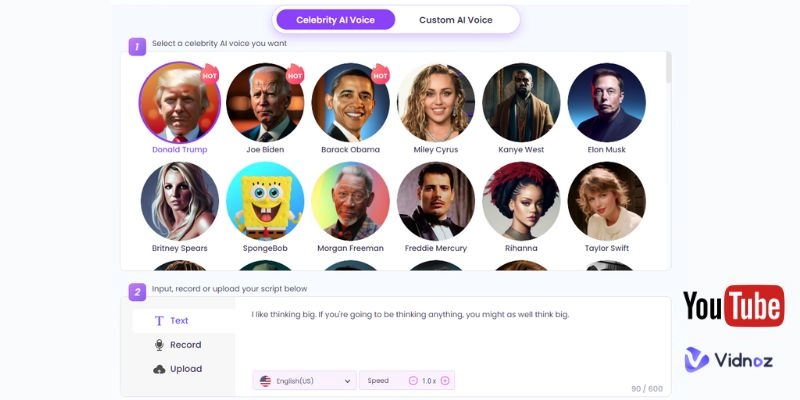
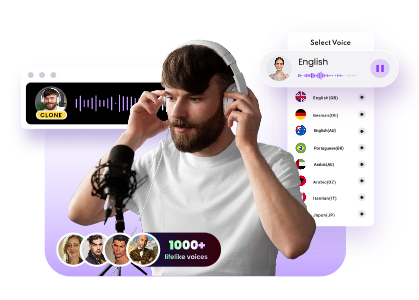
Vidnoz AI’s voice cloning tool belongs to the Vidnoz platform which has pioneered AI tools since its commercialization. The tool is fantastic and provides some much-needed upgrades over the iOS counterpart. More than voice cloning, Vidnoz voice changer is also a celebrity voice generator, you can get many superstars’ voices with one click.
Key Feature
- Completely free to use.
- Can be accessed by anyone for it is web-based.
- The voices cloned through Vidnoz AI are natural.
- Extremely easy to set up.
- A clone can be generated within a few minutes.
- Multiple languages supported.
How to Do AI Voice Cloning in Minutes - 100% Free
Step 1 Upload your voice clip
Once you have located the tool within the Vidnoz platform, the first step is to provide a recording of your voice. You can upload a short voice clip or record your voice about 10-20 seconds of speaking. Unlike the iOS voice cloning tool, Vidnoz doesn’t require 150 phrases, a single voice clip of sufficient length and clarity will suffice.
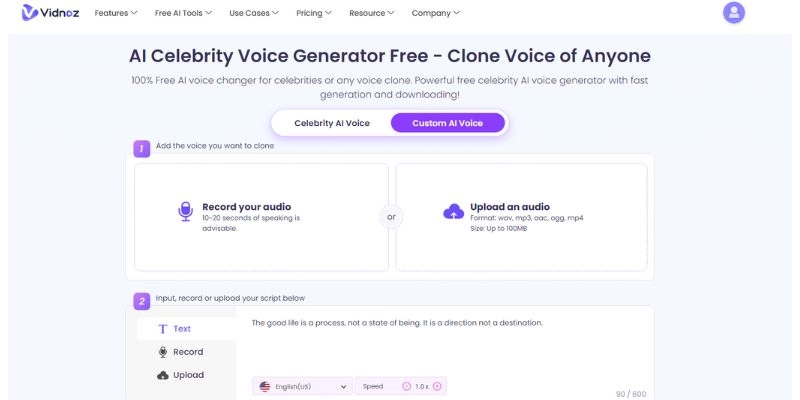
Step 2 Enter the text
Once the voice recording has been uploaded, the next step is to provide the text. This script will be used for narration purposes as the tool needs directions on what it should speak about. Please enter the script into the text box provided, and ensure that it’s void of any errors.
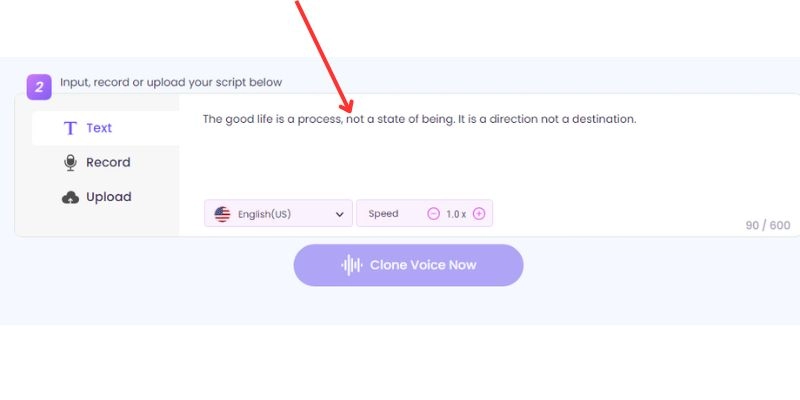
Step 3 Clone voice
The final step is to select your language and start the generation process. This will take a couple of minutes to process and please be patient. Once completed, you can download the mp3 file of your clone.
Conclusion
You are now able to customize Siri and all your narrations through the Apple voice cloning tool. Users can use this feature to send voice notes during phone calls and FaceTime. If you wish for an alternative, Vidnoz AI is your best choice. It’s free, it’s easy and its faster than Apple!






.webp)
![Convert Anything With Old Man Voice Generators [PC & Mobile]](https://www.vidnoz.com/bimg/old-man-voice-generator.webp)
